
So this is going to be a hefty one. In this post I’ll explain what a Facebook/Meta Catalogue is, how to upload your product feed into Meta Commerce and beginners tips on how to optimise your catalogue for advertising across Facebook and Instagram.
What is a Product Feed and Facebook Catalogue?
A product feed is essentially a file with a list of your products, with all their product information, this is also known as a shopping feed. These files are commonly kept in .csv or .xml formats. Product feeds can be uploaded manually or automatically by using multi-channel listing software, like Shoptimised.
You need this to be able to display product information and advertise products on any shopping channels, like Google, Amazon or Facebook. The product feed allows the above platforms to show correct products and their attributes in the form of product listings.
A catalogue is the container that holds product feed and items that you want to advertise across Facebook and Instagram, you would use the Meta Commerce Manager to manage all of this.
Once you’ve got a catalogue in place, you can add/manage your items, optimising their titles, descriptions and photos. Create collections or sets to group products together and upload any additional country or language information.
Selling products on social media has become one of the most popular mediums (how many things have you bought because you saw it on TikTok?), so you need to stand out from their competitors and get in front of consumers.

Setting up a Catalogue on Facebook?
Before you start, create a Facebook Page for your business (if you don’t already have one) and create a Business Manager account, so that you can assign the catalogue to your business – and make sure you’re a business admin!If this is your first time, go to Get Started and select Create a catalogue, if you already have another catalogue in there, you’ll see it listed. Select + Add Catalogue to create a new one.
Scheduled feed
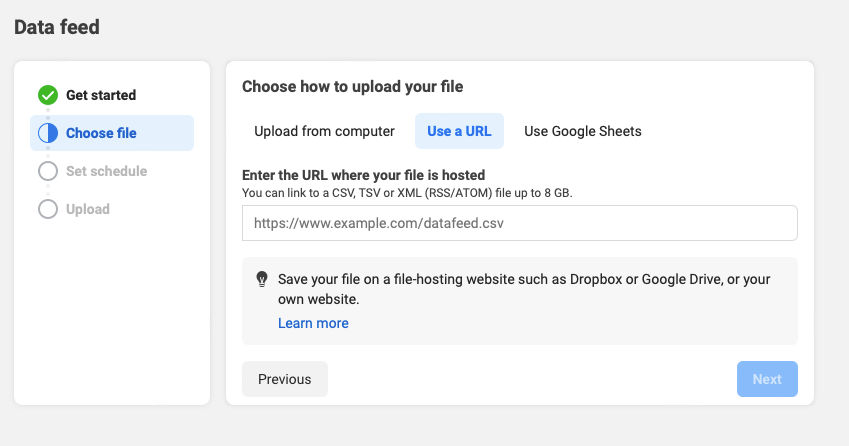
To schedule your feed upload you need a saved file on a hosting website (think Shoptimised and the likes). You then copy/paste the file URL from this site into Facebook and follow the instructions. You’ll be given the option of how often the file will be updated, hourly, daily or weekly, this will depend on how often the inventory is updated / you want it to update. Alternatively, you can opt for ‘add automatic updates’ so that whenever a change in the file is detected… you guessed it, the file updates itself.
Make sure to set your default currency, this makes sure any prices in your data feed that don’t already have a currency set, will display the default instead.
Correct column naming issues for names not matched with those supported by Meta. Do this by matching your columns with those named with titles Facebook supports, then ‘upload.’
One-off feed upload
If your inventory rarely changes or you don’t intend to regularly update your feed, a one-off feed upload is the way to go. This is relatively simple: upload your file, name your file and choose a default currency (see above for more detail on why you do this), correct any column issues – then hey-presto – click upload.
You’ll need to go to Data Sources then Update your Data Feed if you ever need or want to update your one-off feed set-up.
An optimised feed = more sales
Now you know how to upload your product feed, let’s get started on optimisation to put your products in the best possible position to convert.
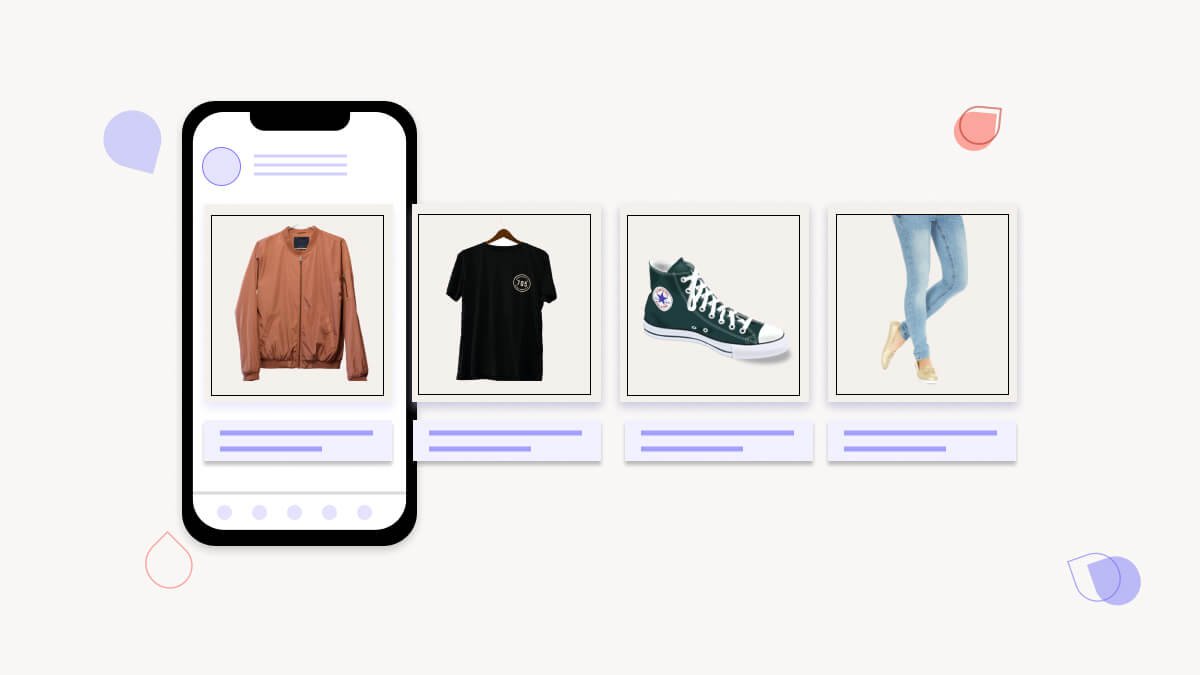
Product titles are the first thing a potential customer will see (along with imagery of course), so you need to make the limited characters available count (25 characters in the preview). The title needs to be clear, to the point and include any relevant keywords, that the customer knows exactly what they’re looking at.
Depending on what the customer is looking for, will depend on the type of information they’ll value seeing from your product feed. If you have an experience with Google Shopping, think how someone might search on a search engine.
Here’s an example of a good title naming structure for clothing/apparel:
Gender + Product Type + Attributes (think colour, size, material)
Picture Perfect
It goes without saying that user’s need a reason to stop scrolling and more often than not, it’s the imagery that would do that for us. Having high quality images is such an effective way of boosting sales through your product feed, by getting them to stop and go through to your site.
It’s worth A/B testing your images to discover what resonates best with your audience. I’d recommend testing regularly, especially as buyer habits and needs change. Oh… and make sure you’re not pushing items that is low or out-of-stock.
You need to be showing products that are available because when customers click on your ad for an out-of-stock item, their journey ends in frustration because they can’t buy what they wanted. Don’t forget you’ll also be paying for all those clicks that won’t end in a purchase, as well as not giving a great impression of your brand.
To avoid this, create filters in your product feed to exclude low or no-stock products.
Custom Labels – what are they?
Custom labels are a great way to add additional details to your product feeds, making them stand out more and generate interest. They also give you the capability to further refine your product feed to parameters, like showing more popular products more often.
My favourite way of using them is to create labels for seasonal products and items. This is a great asset when it comes to the festive period, where you can focus on promoting the products that are most appropriate to that time of year.
Promote your products via paid ads
There are a few ways you can use your catalogue with Meta Ads Manager, my preferred include:
Carousel ads, this is where you show multiple images/videos that users scroll through, each pulling their own link (from the catalogue).
Advantage+ catalogue ads, (these used to be called dynamic ads) automatically show users products based on their interests, intent and online behaviour. You can take more control on what a user is shown if you utilise collections within your catalogue and then select the products that are relevant to your ad. As with any ads really, you’ll need to make sure your Pixel (or SDK) are connected to the catalogue.
Ads with product tags, users can click on the tags to see to the product detail page where they can find out more.
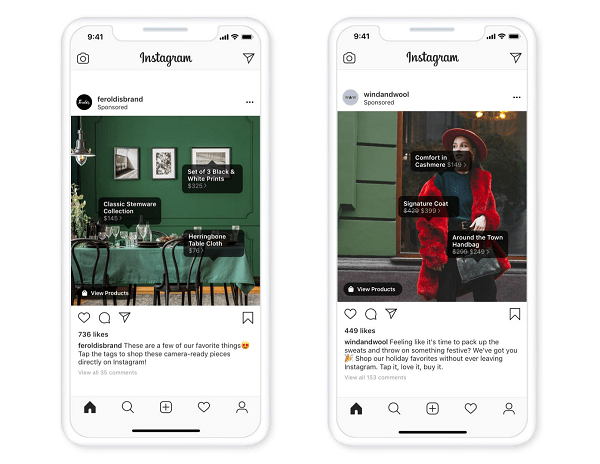
So I’ve given you some basics to get you started, but if you’d like a well-trained eye to look over your account please don’t hesitate to get in touch!
